Skip to content
  • 0 Votes
    1 Posts
    26 Views
    Lisa Lorenzin (she/her)L
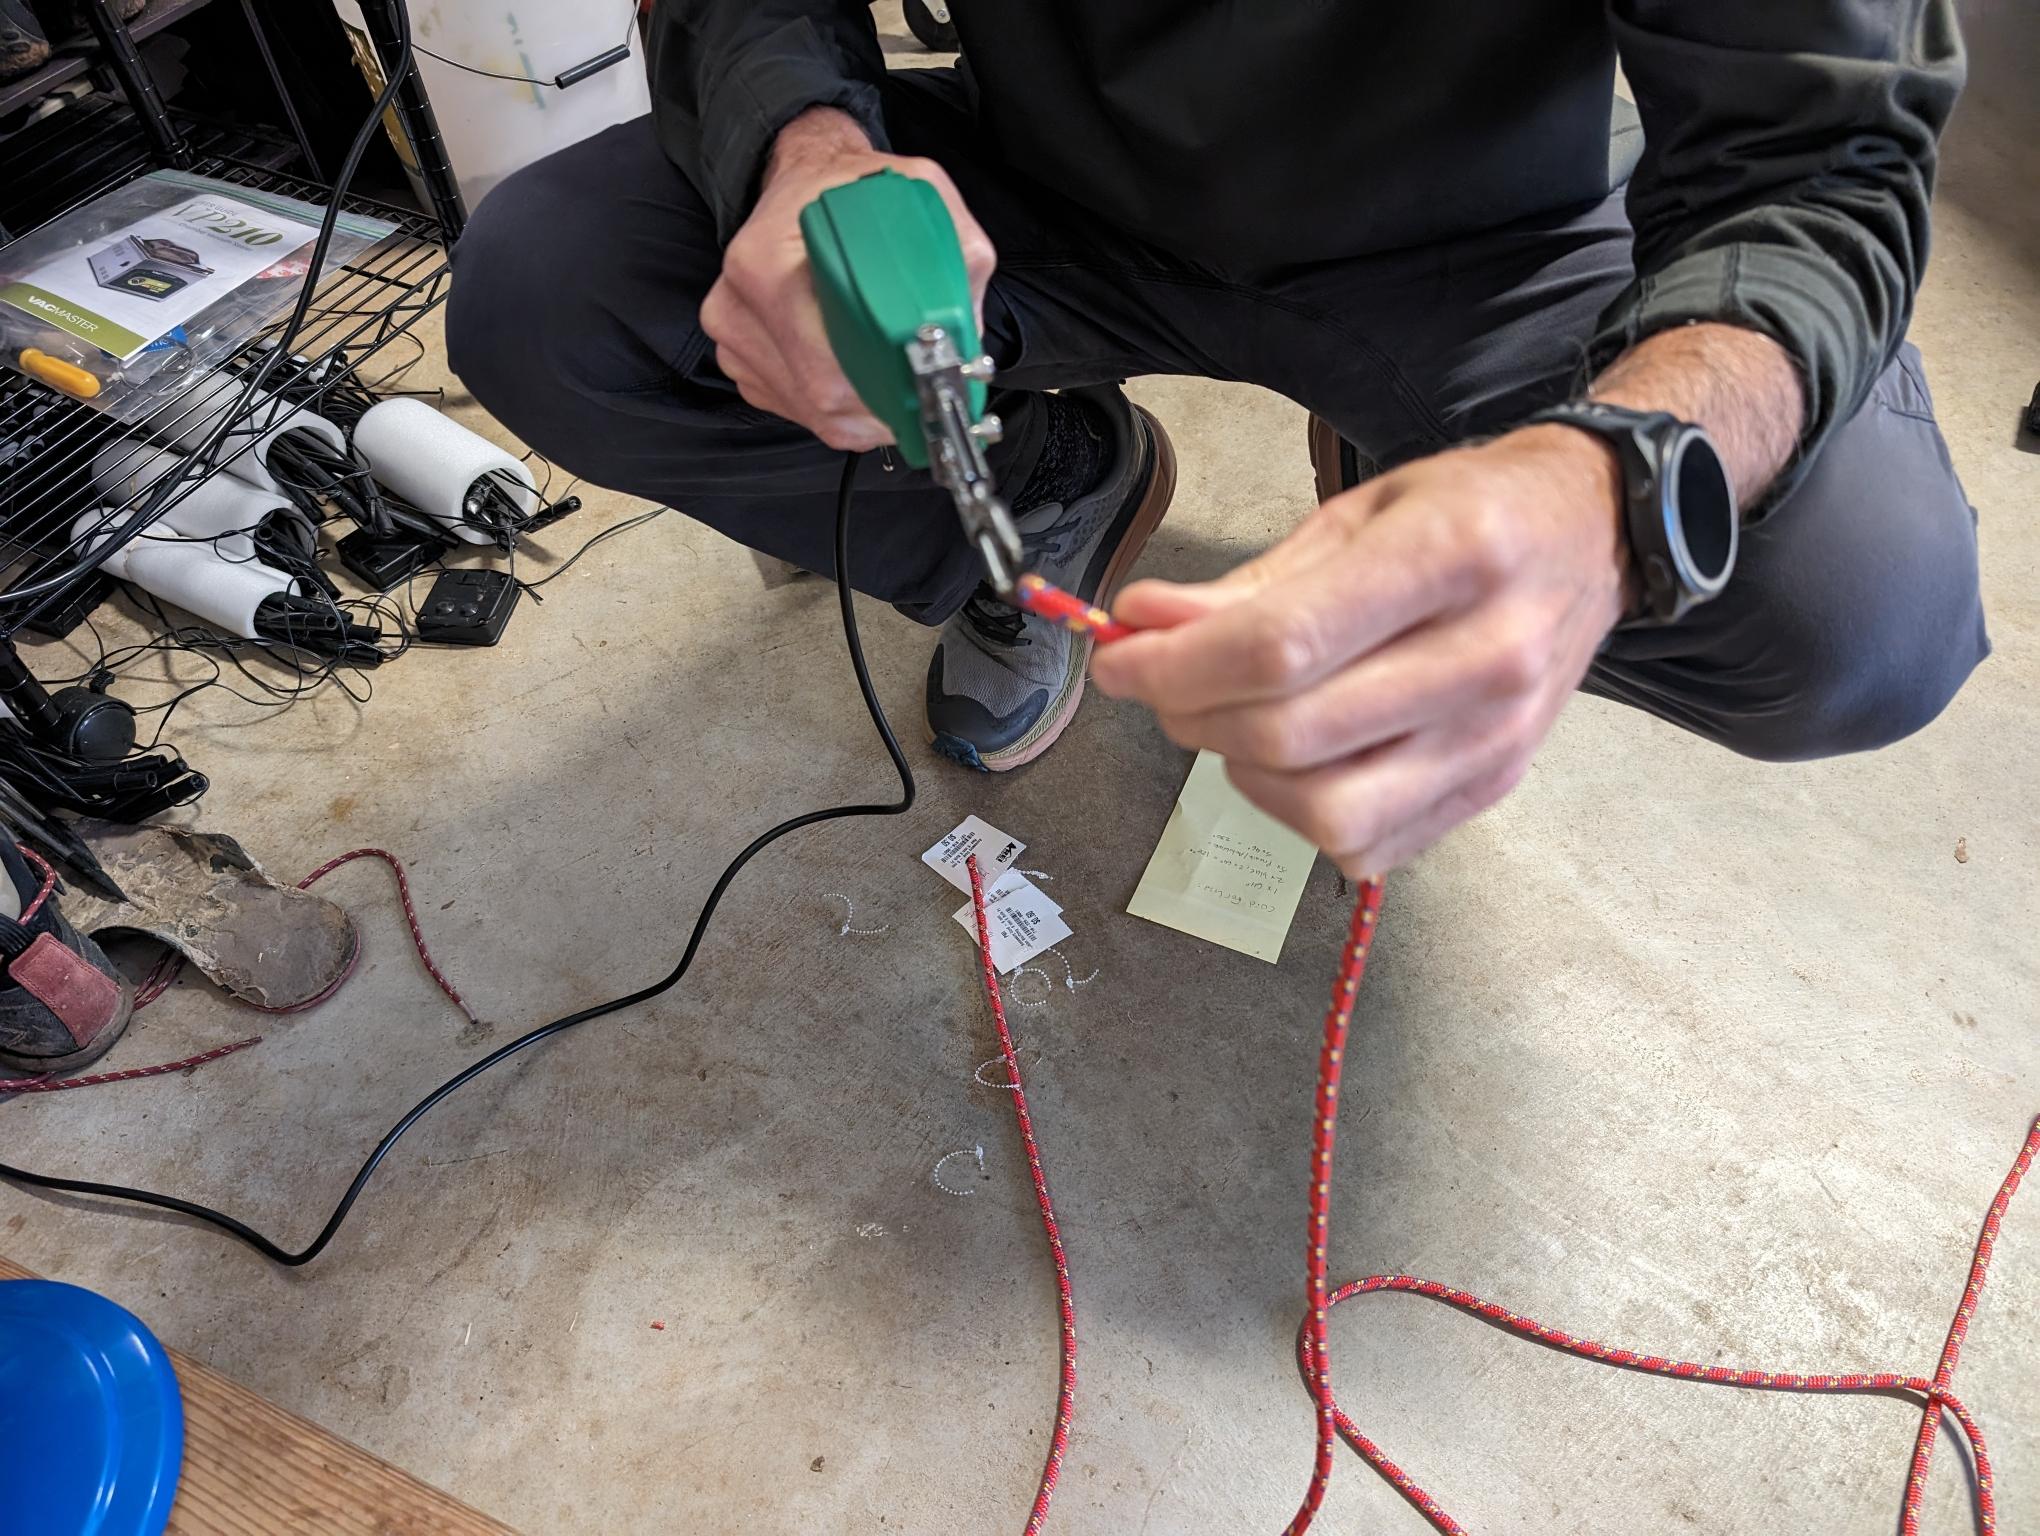
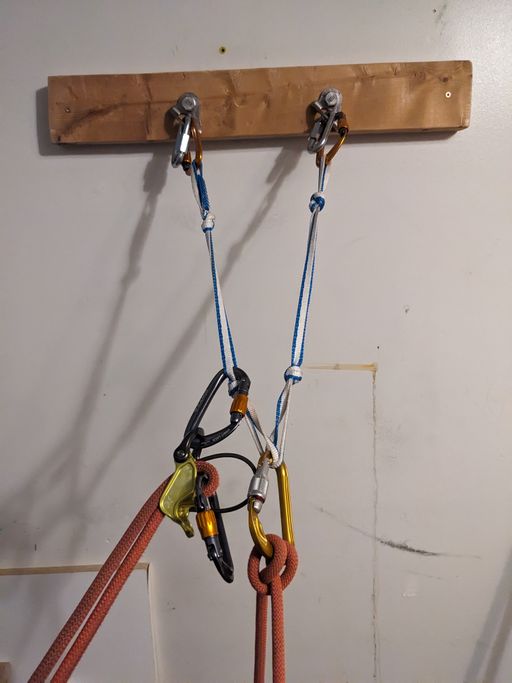
    #makeShitMonday, #climbing edition...@mbroome and I haven't been climbing as much this year, partly due to schedules, partly my shoulder recovery. But we got out to Pilot Mountain last Sunday with a bunch of friends, and that reminded me that I've been meaning to replace my various tied cords - prusiks and foot loop for emergency rope ascent, spare footloop that doubles as my chalkbag belt, and autoblock for rappel backup - since they're all well over a decade old by now. They all *look* fine, but cord is cheap and nylon degrades over time, so...He picked up some cord for us back in October, so we dug out the hot knife, set up a fan in the garage, and got to work. I had to go in for a respirator mask almost immediately - something about burning plastic gives me an instant headache - but we got them all cut to length and re-tied pretty quickly. Not quite the same diameters as the original cord, but I gave the autoblock a test drive on Thursday and it worked just fine! @cannibal #rockclimbing #DIY
  • Practice anchors install (w/ pictures!)

    General Climbing diy climbing
    11
    5
    3 Votes
    11 Posts
    650 Views
    devnullD
    Okay, I did a thing. Yesterday I briefly outlined my plans to build a set of practice anchors in my garage. After a quick trip to the hardware store, I got what I needed and as promised, here are some progress pics and the final result. [image: 1724386660906-pxl_20240822_143020828-resized.jpg] [image: 1724386655118-pxl_20240822_194756349-resized.jpg] [image: 1724386621597-pxl_20240822_204026195.mp-resized.jpg] [image: 1724387298601-pxl_20240823_021253567-resized.jpg] Some notes The initial plan was to use tee nuts or threaded inserts, but I wasn't able to easily get those, so the fallback was to use regular nuts and to drill a recess into the back of the board so they'd sit flush. There was some splintering the first time I tried to use a spade bit. Practice makes perfect! I expected the studs in my garage to be 16 inches apart, but they were 21.5 inches. Measure twice, cut once! I was today years old when I discovered a 2x4 is not 2 inches by 4 inches. Cost breakdown (Canadian dollars): Fixe 316 SS Bolt Hanger 1/2" (MEC, $2.93 apiece) Camp 8mm Oval Steel Quicklink (MEC, $4.95 apiece) 1" spade bit ($8.98) 1/2" threaded bolt ($3.85 apiece) 1/2" nut ($0.26 apiece) Free/on-hand items: Scrap wood (2x4) Power drill and drill bits Adjustable wrench and socket wrench Deck screws Total: $32.96 CAD
  • Rap station in a garage

    General Climbing diy climbing
    9
    1 Votes
    9 Posts
    769 Views
    devnullD
    Looking to set up a belay/rappel station in my garage just for practice, trying out new things, and general faffery. I'm not super handy but can work my way around simple power tools. Anyway, my current plan is to: drill holes into a piece of 2x4 install tee nuts at the back (or maybe threaded inserts at the front, or failing that, nuts at the back.) install the hangers using M12 bolts (as per hanger specs) screw that unit directly into wall studs in my garage using deck screws slap on some quicklinks to the hangers and call it a day Thoughts? Hanging a picture frame is one thing, but supporting body weight is another entirely! I suppose it doesn't have to, but it'd be nice for it to be able to.